
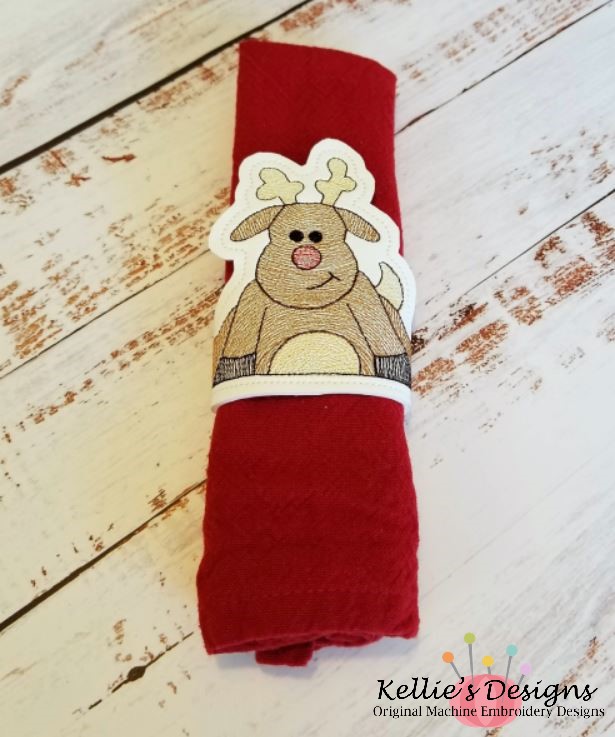
For the purposes of this tutorial, I am using the Rudolph Napkin Ring file which can be purchased here. However, all of our napkin rings are assembled in the very same way.
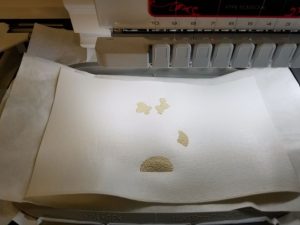
Step 1: Hoop 3 pieces of cut away stabilizer. This is important because the design is fairly dense and the stabilizer helps the vinyl hold the stitches and adds stability to the napkin ring. Color change #1 is stitched directly onto the stabilizer – this is your vinyl placement line.
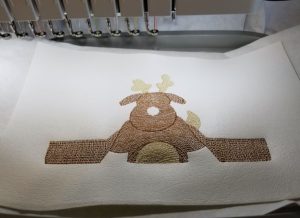
Step 2: Float a piece of vinyl over the placement line you just stitched. Be sure the ENTIRE placement line is covered, secure with tape. Color change #2 is Rudolph’s antlers, belly and tail.
Step 3: Stitch color change #3 – Rudolph’s body
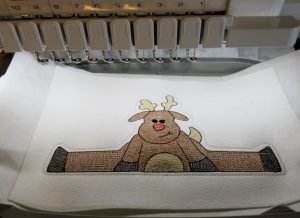
Step 4: Stitch color change #4 – Rudolph’s nose

Step 5: Stitch color change #5 – This is the hooves, outline, mouth and eyes.

Step 6: Remove hoop from machine and place backing vinyl over entire stitched area – secure with tape and place hoop back on machine. Stitch color change #6 – This is the final bean stitching that attaches the layers together.
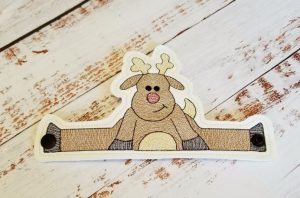
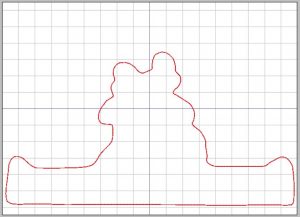
Step 7: Unhoop and carefully trim around the bean stitching.

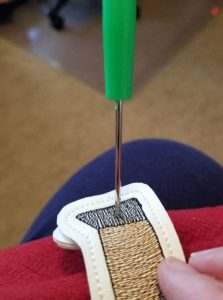
Step 8: I purposefully didn’t digitize placement lines for the kam snaps because snap placement depends on what type of napkin you are going to use the rings on. Paper napkins would require a smaller ring circumference than cloth napkins. I want to use my ring on a cloth napkin, so I used it as a reference for my snap placement. I wrapped Rudolph around the napkin and adjusted the legs until I liked the fit and then used my awl to carefully punch a hole through both hooves on the napkin ring where I wanted my snaps placed (If you were using paper napkins – the snap placement would be on the legs).
Step 9: Install your snaps and you’re finished!!
See all of our napkins rings here!
merci