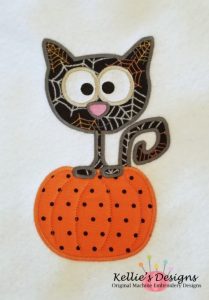
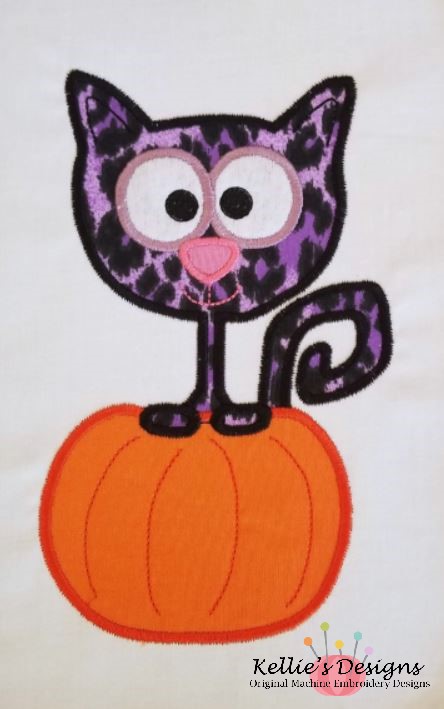

The Cat In Pumpkin Applique design that I am using for this tutorial can be found here. All of our applique designs are done in the same format.
1. Hoop your stabilizer, choose the fabric you’re going to use and load the design onto your embroidery machine.

2. Stitch color #1 – this is your fabric placement line for the pumpkin.

3. Cover the fabric placement line with the fabric you are using for the pumpkin, making sure the entire placement line is covered by the fabric.

4. Stitch color #2 – this is the fabric tack down for the pumpkin.

5. Carefully remove the hoop (do not unhoop!) from your machine and using small sharp scissors, trim the fabric as close to the stitch line as you can without cutting into the stitches. Replace hoop on machine.

6. Stitch color #3 – this is the fabric placement line for the cat.

7. Cover the placement line with the fabric you are using for the cat – make sure all lines are covered.

8. Stitch color #4 – this is the fabric tack down for the cat.

9. Remove the hoop from the machine and carefully trim away the fabric around the cat and tail – use care not to clip into the stitches. Replace hoop on machine.

10. Stitch color #5 – this is the fabric placement line for the eyes.

11. Cover the fabric placement line with your eye fabric.

12. Stitch color #6 to tack down the fabric.

13. Remove the hoop from the machine and trim excess fabric from around eyes. Replace hoop on machine.

14. Stitch color #7 is the fabric placement line for the cat’s nose.

15. Cover the placement line with the fabric you are using for the cat’s nose.

16. Stitch color #8 to tack down the nose fabric.

17. Remove the hoop from the machine and trim excess fabric from around the nose. Replace hoop on machine.

18. Stitch color #9 – this is the finishing satin stitch for the cat’s tail.

19. Stitch color #10 – this is finishing satin stitch for the pumpkin and the pumpkin details.

20. Stitch color #11 – this is the finishing satin stitch for the cat’s eyes.

21. Stitch color #12 – this is the finishing satin stitch for the cat’s body and paws, the ear details, as well as the eyes.

22. Almost done! Yay! Stitch color #13 – this is finishing satin stitch for the nose and the mouth detail.

That’s it! You’re all done! See how simple??
You can find other applique designs by Kellie’s Designs here! Enjoy