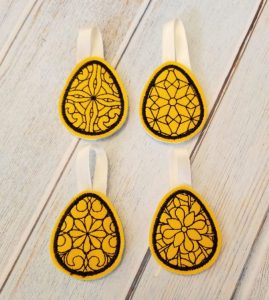
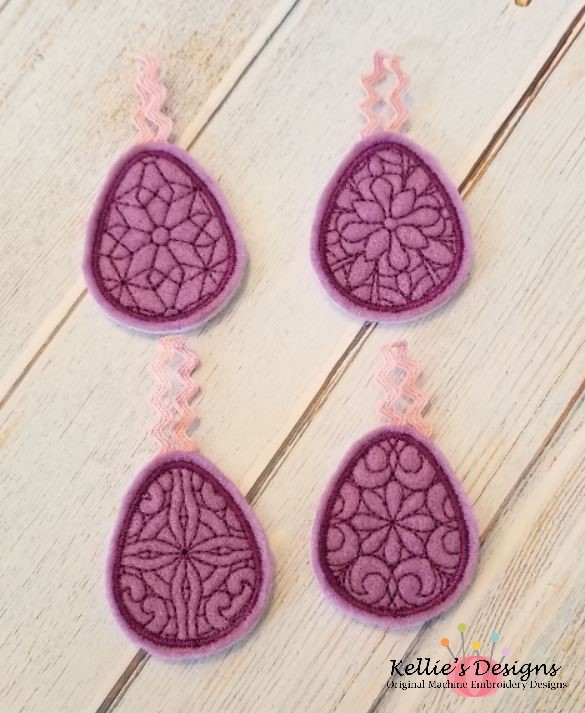
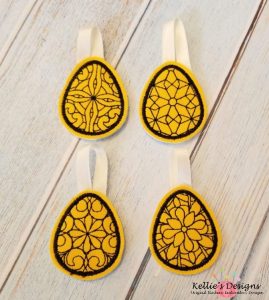
This tutorial will walk you through step-by-step to make our Mini Easter Egg Ornaments. The design can be found here.
Supplies Needed:
Tear away stabilizer
Ribbon or rick rack for hangers
Vinyl or felt
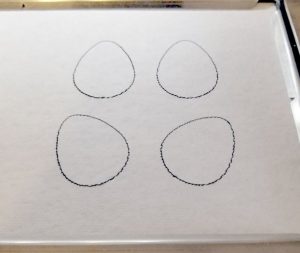
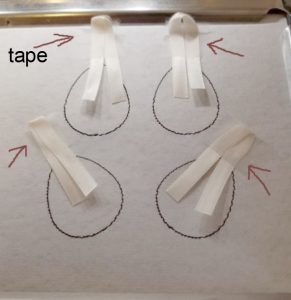
Step 1: Stitch color change 1 directly onto the stabilizer. This is placement line for the ribbon hangers.
Step 2: Cut ribbon or rick rack for hangers approx. 4 inches. Securely tape the loop to the stabilizer AWAY from the stitching line.
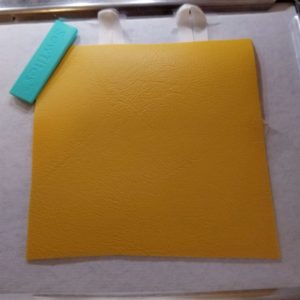
Step 3: Place vinyl or felt over the hangers.
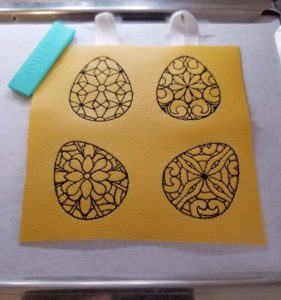
Step 4: Stitch color change 2.
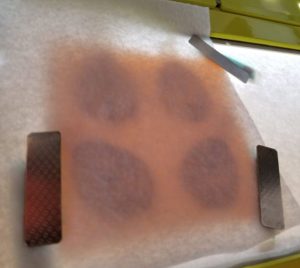
Step 5: Remove hoop and flip over. Cover the backside of the eggs with vinyl or felt, secure with tape or pins and return hoop to machine.
Step 6: Stitch color change 3 – this will attach the backing to the front.
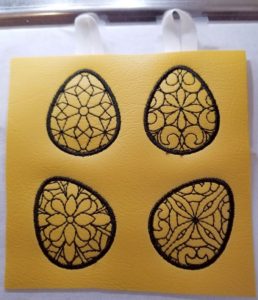
Step 7: Unhoop your eggs and carefully remove the tape that was used to secure the ribbon hangers to the stabilizer. Gently tear away the stabilizer. Carefully cut our your eggs taking great care to avoid cutting off the hanger. The easiest way to do this is to carefully separate all 4 eggs and one at a time, carefully cut around the body of the egg leaving a large margin around the top portion.
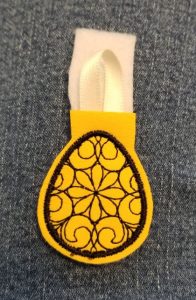
Next carefully pull back the hanger and the backing fabric and hold between your fingers so you don’t accidentally cut them. Cut around the top of the egg – front fabric only.
Do the exact same with the backing, holding the hanger between your fingers toward the front.
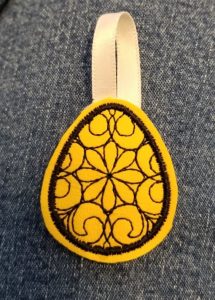
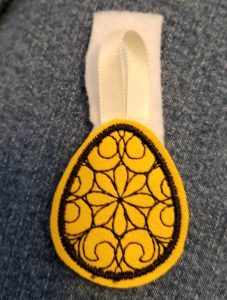
You’re finished!