
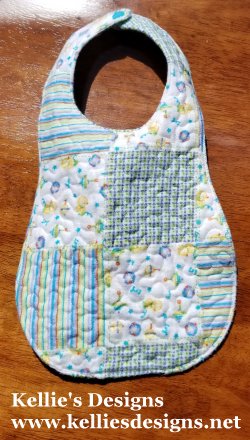

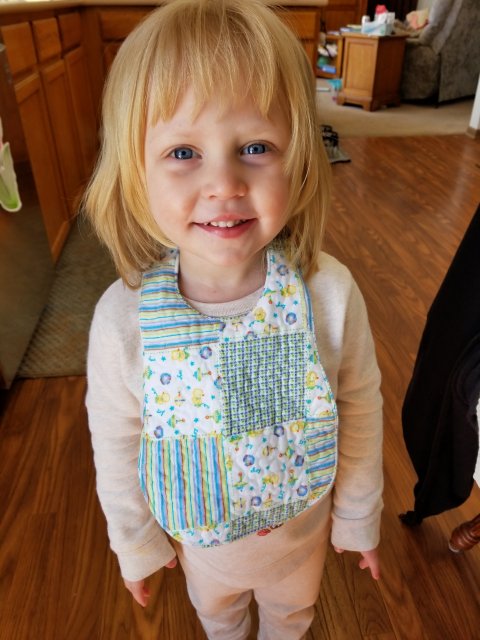
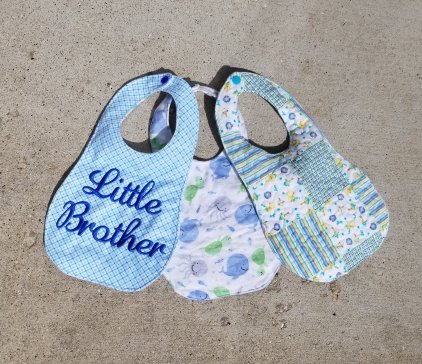
Hi guys! Today I’m going to show you how to stitch our peanut shaped bib design. For the purposes of this tutorial, I’m using our basic stippled peanut bib design, which can be purchased here – however, all of our bib designs are created with the same basic simple steps. (FYI: My granddaughter is 3 and you can see in the picture how the bib is still plenty big on her.)

You will need the following:
* tear away stabilizer (do not use cut away)
* 2 – 17×9 inch pieces of fabric or flannel for the front and back of your bib
* 1 – 17×9 inch piece of quilt batting or flannel for the inside of your bib
* 2 – KAM snaps (Important – if you are using quilt batting for the inside of your bib, you will need the extra long prong KAM snaps. If you are using flannel for inside your bib, the regular KAM snaps will probably work just fine.) OR, you can use metal snaps or velcro. (see purchasing info below)

* A means of stitching or closing the unstitched portion of the bib that is used for turning the bib right side out.
Step 1:
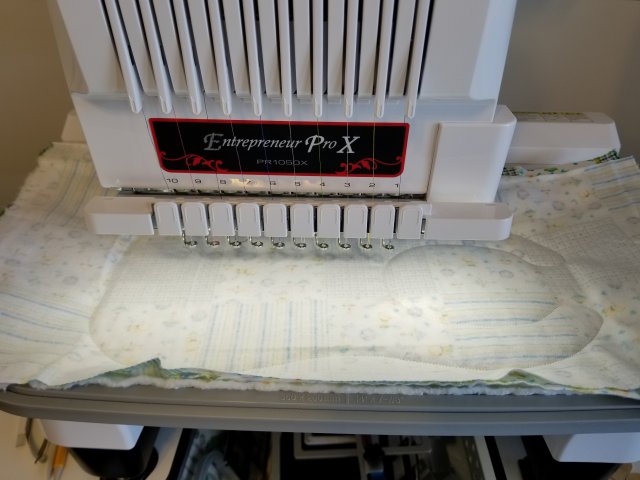
Hoop your tear away stabilizer and attach your frame to your machine.
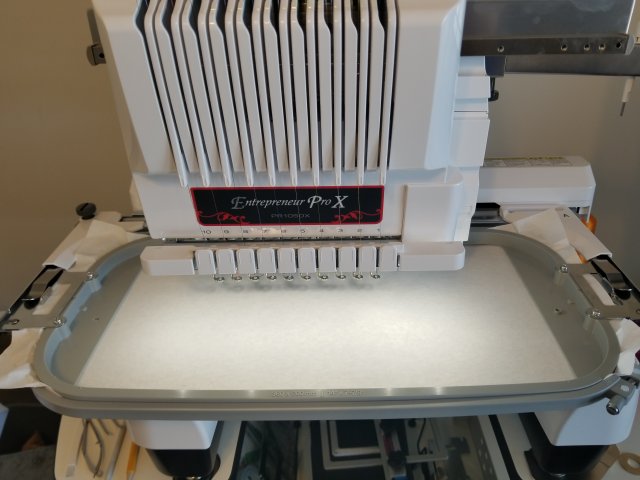
Step 2:
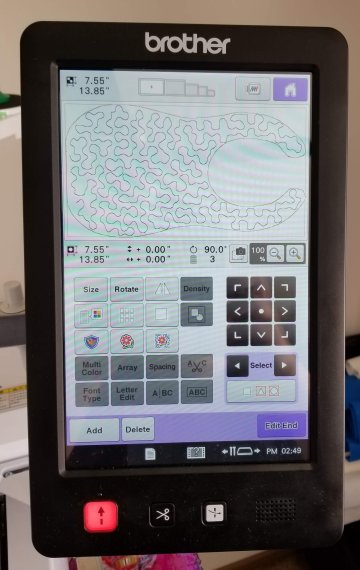
Load the design onto your machine and select your thread colors.
Step 3:
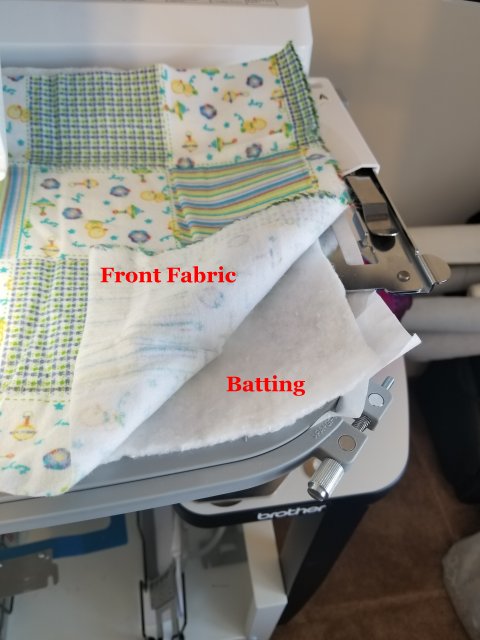
Float your flannel/quilt batting over your stabilizer and smooth out and wrinkles with your hands. Float the fabric you are using for the front side of your bib over the batting FACE UP and again smooth out any wrinkles. I don’t find it necessary to use a temporary spray adhesive because once the first few stitches are stitched, the fabric shouldn’t move – however, feel free to use it if you so desire.
Step 4:
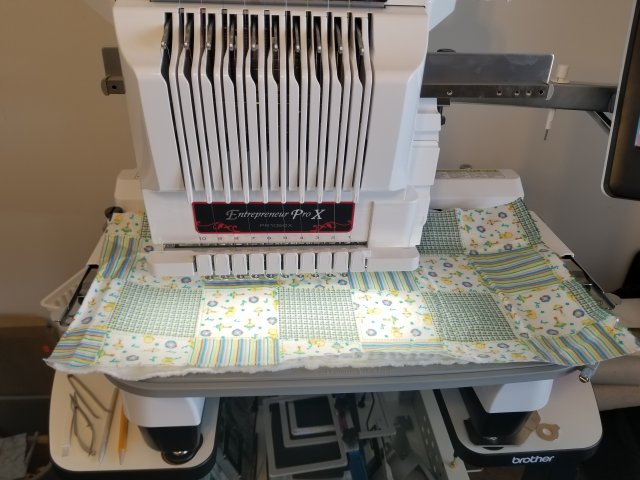
Stitch the first thread color of the design. This will be the outline of the bib attaching the fabric to the batting. Select a thread color that coordinates with your fabric because this stitching will be visible.
Step 5:
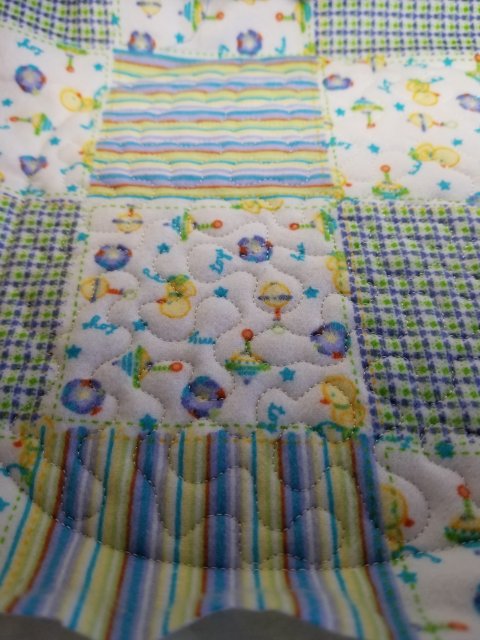
Stitch the next thread color which will be the stippling.
Step 6:
Should you so desire to personalize your bib with a name or design – this would be the time to do so. Otherwise, skip to the next step.
Step 7:
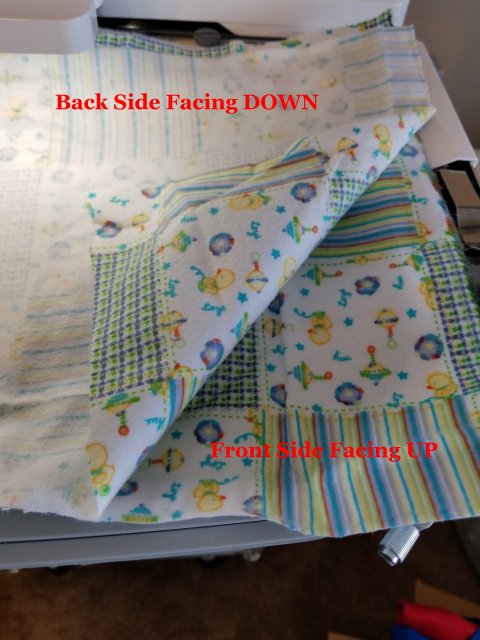
Float the material for the back of the bib FACE DOWN on your hoop making certain that all stitching is covered.
Step 8:
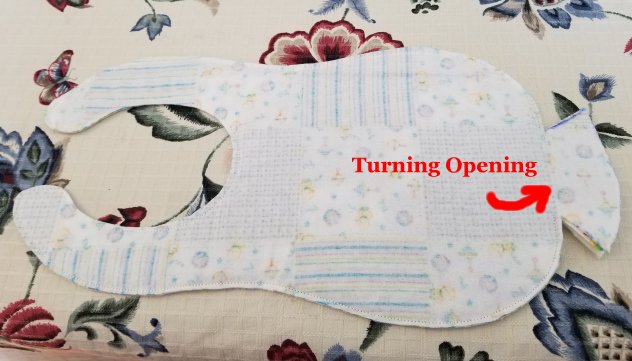
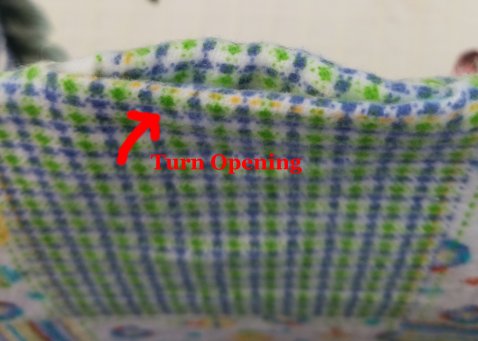
Run the last color change using the same thread color you used for Step 4. This will stitch the bean stitch attaching the back of your bib to the front. There will be a small unstitched area at the bottom of the bib which is used for turning the bib.
Step 9:
Remove your hoop from your machine and unhoop your bib.

Step 10: Carefully remove the tear away stabilizer from around the bib. It is not necessary to move the stabilizer from the stippled areas unless your stabilizer is very stiff and crinkly. I do try to remove as much as possible, especially in the neck straps – because it makes turning a little easier – but that is just my preference. Don’t tug though or you might break your stitches, just gently tear.
Step 11:
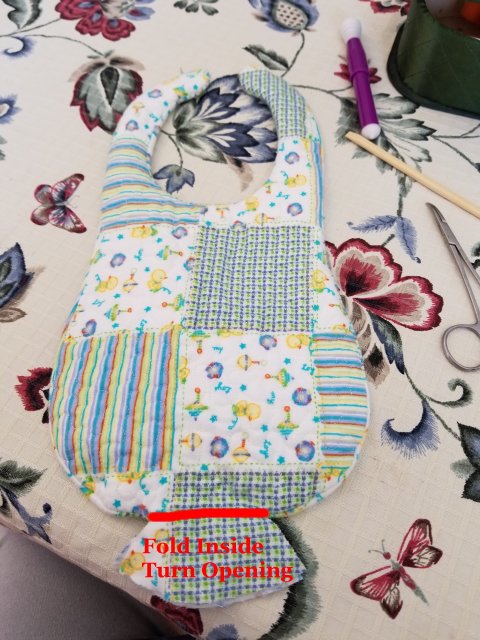
Carefully trim the fabric from around your bib making certain that you don’t clip into the stitches. When you come to the area that is unstitched for turning – leave about 1.5 inch of the fabric so you can fold it inside later to close the bib. (I sometimes mark with a pen and cut this area first so I don’t forget and accidentally trim it leaving exposed raw edges. Yes, I’ve done it … more times than I care to admit. lol Which is why I suggest marking and cutting first.)
Step 12:
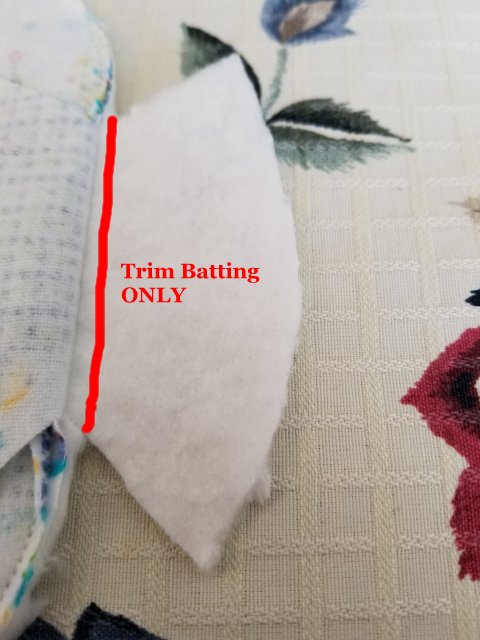
Go ahead and trim your batting/flannel – you won’t need that for turning and it’ll leave a lump in your bib. DO NOT trim away the front and back material – just the inner batting/flannel.
Step 13:
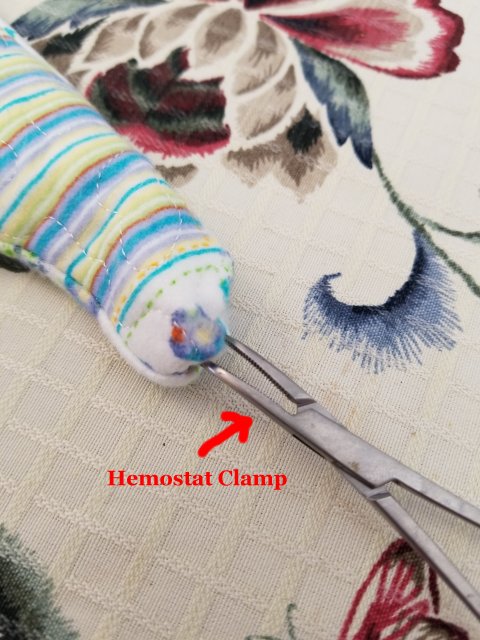
Carefully turn your bib right side out. Be patient and work gently so that you don’t rip out your stitches. If you’ve used flannel vs. batting for the inside of your bib, turning is a little easier – but once you get it started, it is fairly simple. I turn the body of the bib from one side and then work on the neck straps one side at a time. I find using hemostat clamps are helpful turning the neck straps. HINT: Don’t pull the material with the clamps or you risk ripping the fabric. Rather, hold the fabric with the clamps in one hand and gently pull the bib with your other hand. It’s gentler and much more effective. Once you’ve turned the bib and straps completely – use the DULL end of a chop stick or eraser end of a pencil to run along the inside of your seam making sure all the fabric is completely turned. Finger pressing the seams, especially the ends of the neck straps is helpful to make sure all the fabric is smoothed out and turned correctly.
Step 14:
You’re almost there!! Now, carefully fold in the 1.5 inches of fabric that’s left at the turning point. This should fold in quite easily and lay flat.
Step 15:
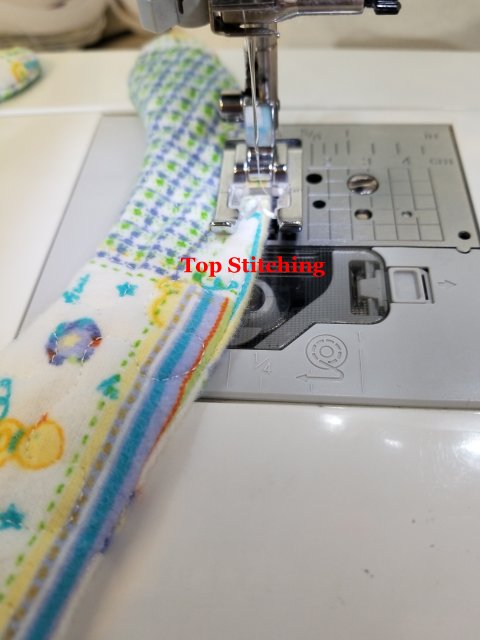
Close the turning opening – either by hand stitching, double sided fabric tape, fabric glue or your sewing machine. It’s not necessary to top stitch around the bib, however I find that doing so serves 2 purposes – it closes the turning opening and it helps the fabric lay smoothly along the seam lines. This, however, is totally optional.
Step 16:
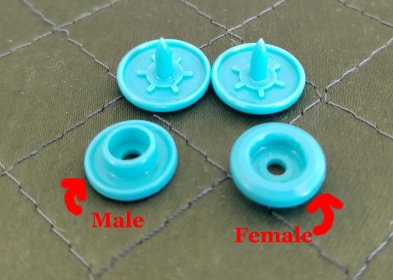
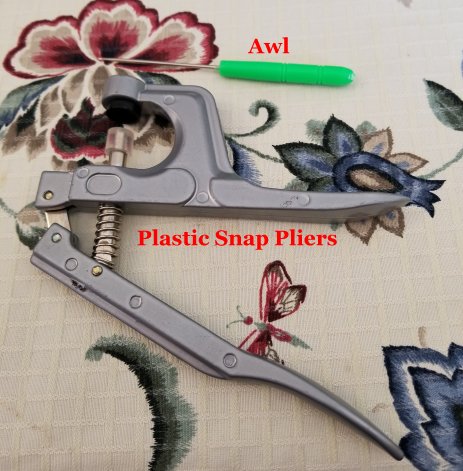
The last step is attach your KAM snaps, metal snaps or velcro to the neck straps. I prefer plastic KAM snaps because they are easy to install and hold up extremely well. I worry about velcro pulling a little one’s hair and sticking to things it shouldn’t when being laundered. Again, this is just my preference.
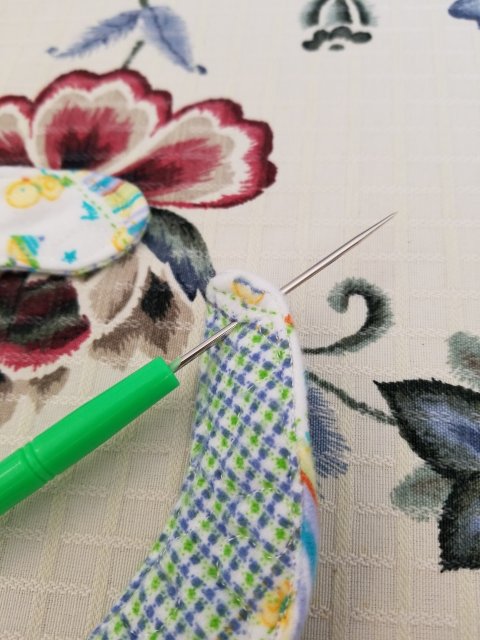
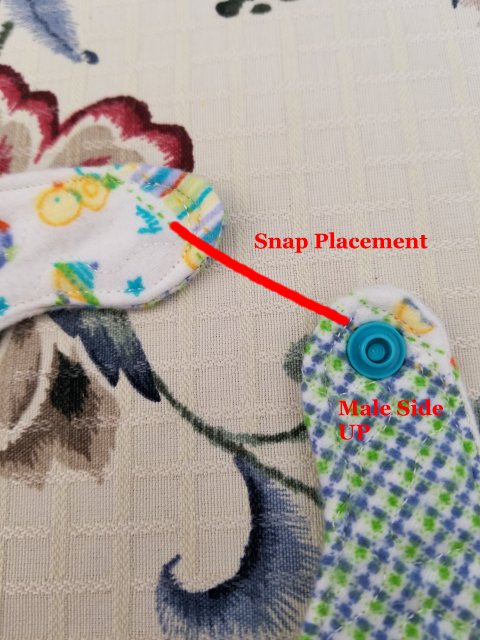
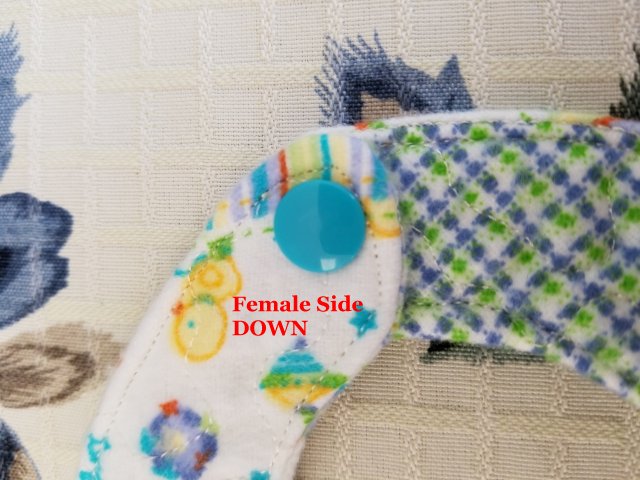
Using an awl or similar tool – poke a snap hole approx. 1/2 inch from the edges of the neck straps. Following the instructions for your snap pliers, install both snaps. I do the male snap facing up on one strap and the female snap facing down on the other strap.

Supplies we recommend:
Long Prong KAM Snaps
PLEASE NOTE: The post may contain affiliate links. This means we may earn SMALL percentage of sales via these links. This does not INCREASE the price you pay as a consumer. It simply supplements our income and helps defray the cost of this website. We only link to products we use and/or recommend.
[print-me target=”body”]
What size hoop is this design made for?
Thanks, Diana
Hi Diana! The bib design is 7.55 inches x 13.85 inches. Hope that helps.